Add Watermark 3.2 released

What’s new in version 3.2:

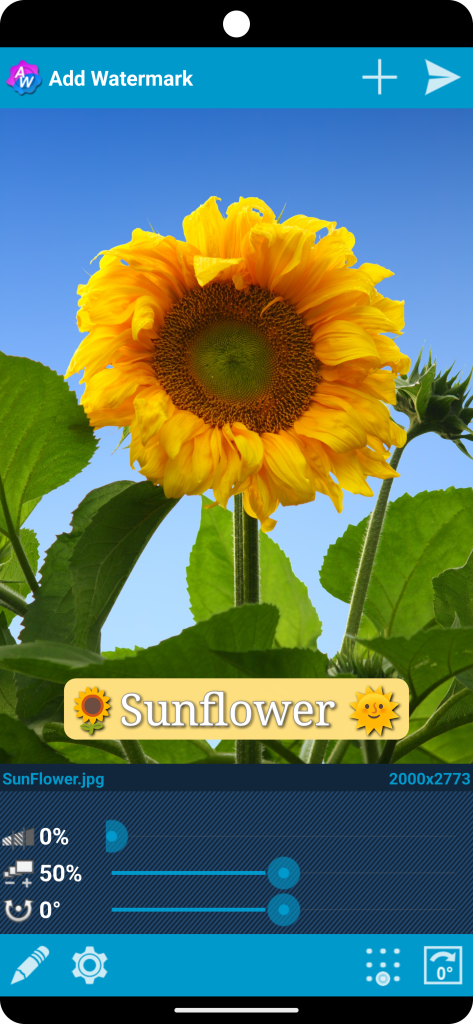
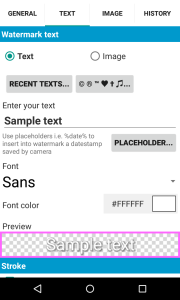
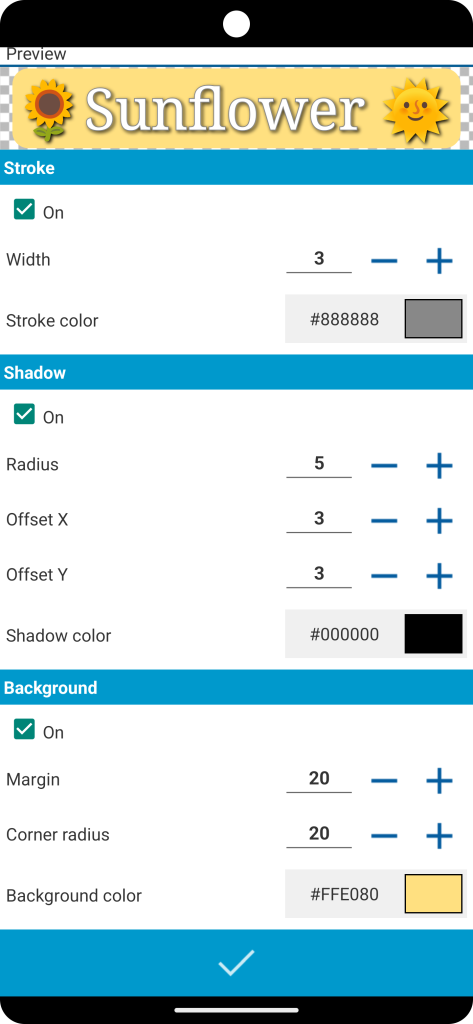
  • New: Background behind text watermark with adjustable color, margin and rounded corners (see Settings)
  • Bug fix: Images didn’t appear in the Gallery after processing on some devices with Android 9 (API 28)
  • A lot of small improvements

How to apply a solid background to a watermark text:

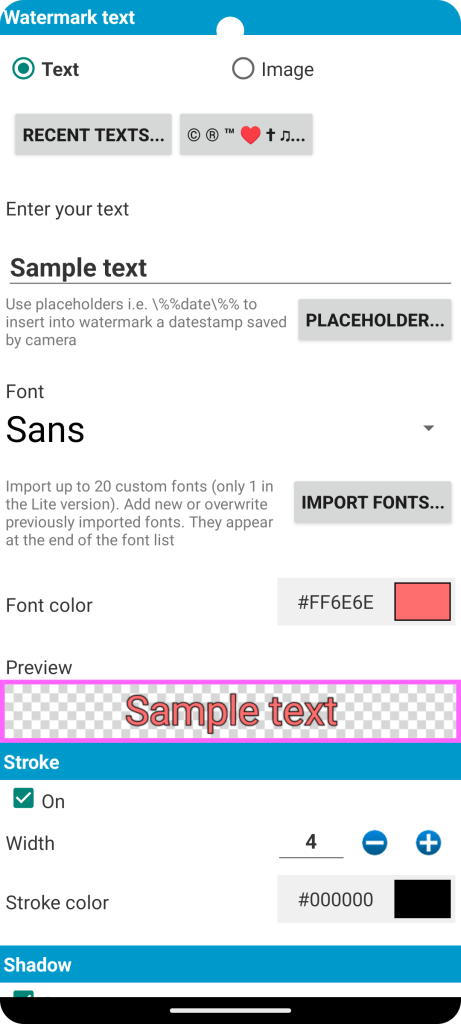
  1. Go to Watermark text settings.
  2. Edit your text.
  3. Set Background to On and adjust Margin and Corner radius.
    These values are relative to the text size and can be from 0% to 50%.
    That means, for 50% margin the full background height equals 200% of the text height.

🌻 By the way, did you know, that you can also use any smiley available in your Android keyboard? Just switch to the smiley-tab when editing your watermark text.

Add Watermark 3.1 released

After a long time without updates we are pleased to announce you the new release!

What’s new in version 3.1:

  • In accordance with current Android security policies and usability guidelines, all images created in the app are saved in a single folder on your device – Pictures/AddWatermark
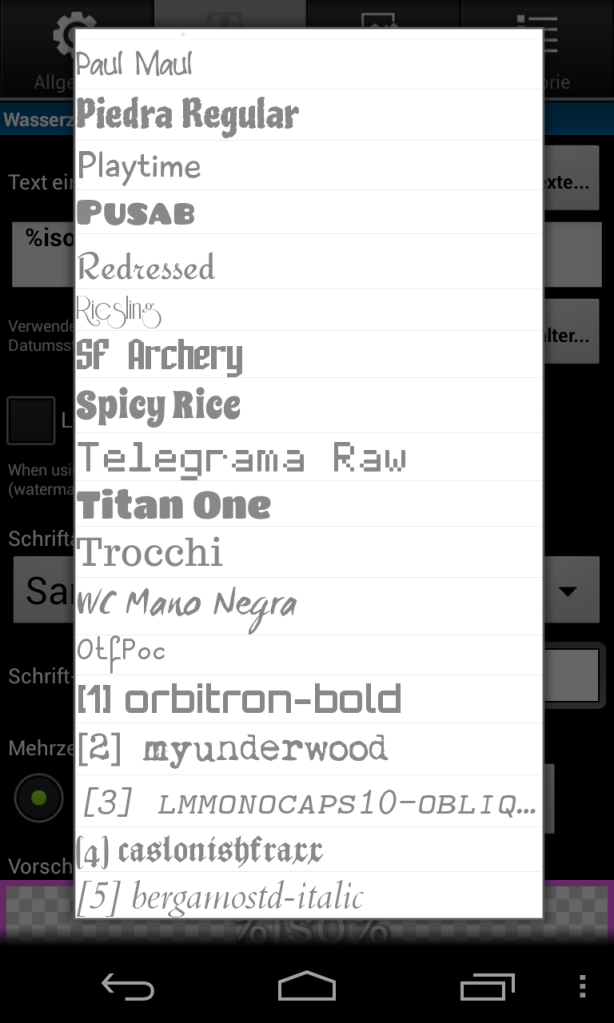
  • Improvement: Import up to 20 custom fonts directly in the app. See text watermark settings. Old method via the folder “addwatermark/custom_fonts” is disabled
  • Minor improvements

How to find processed images on device:

How to import custom fonts:

Add Watermark: Error while loading image

Sometimes when you want to select a new image you may experience following error:

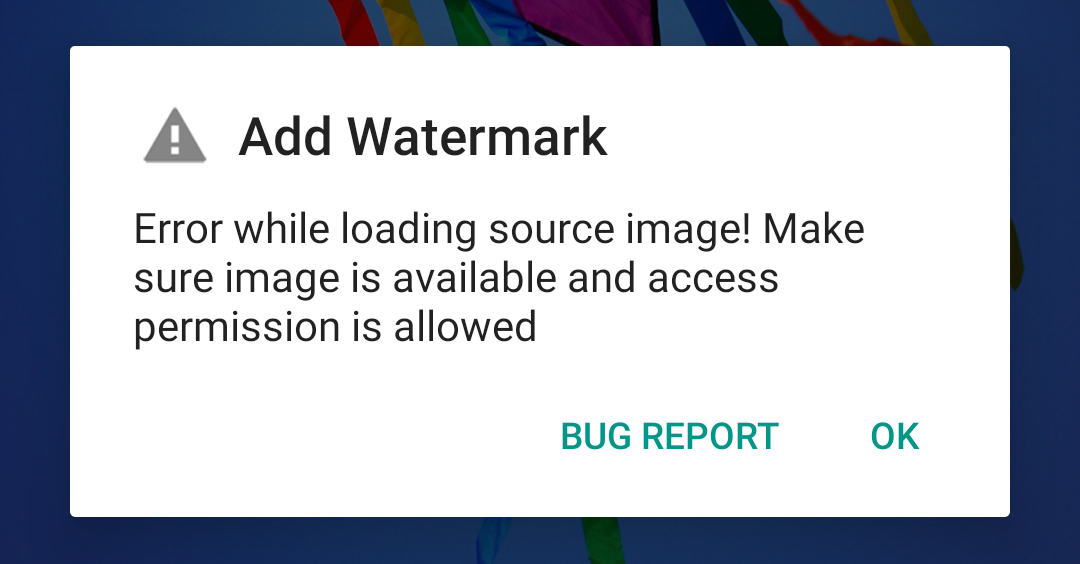
Error while loading source image! Make sure image is available and access permission is allowed.

screenshot_20190131-204357

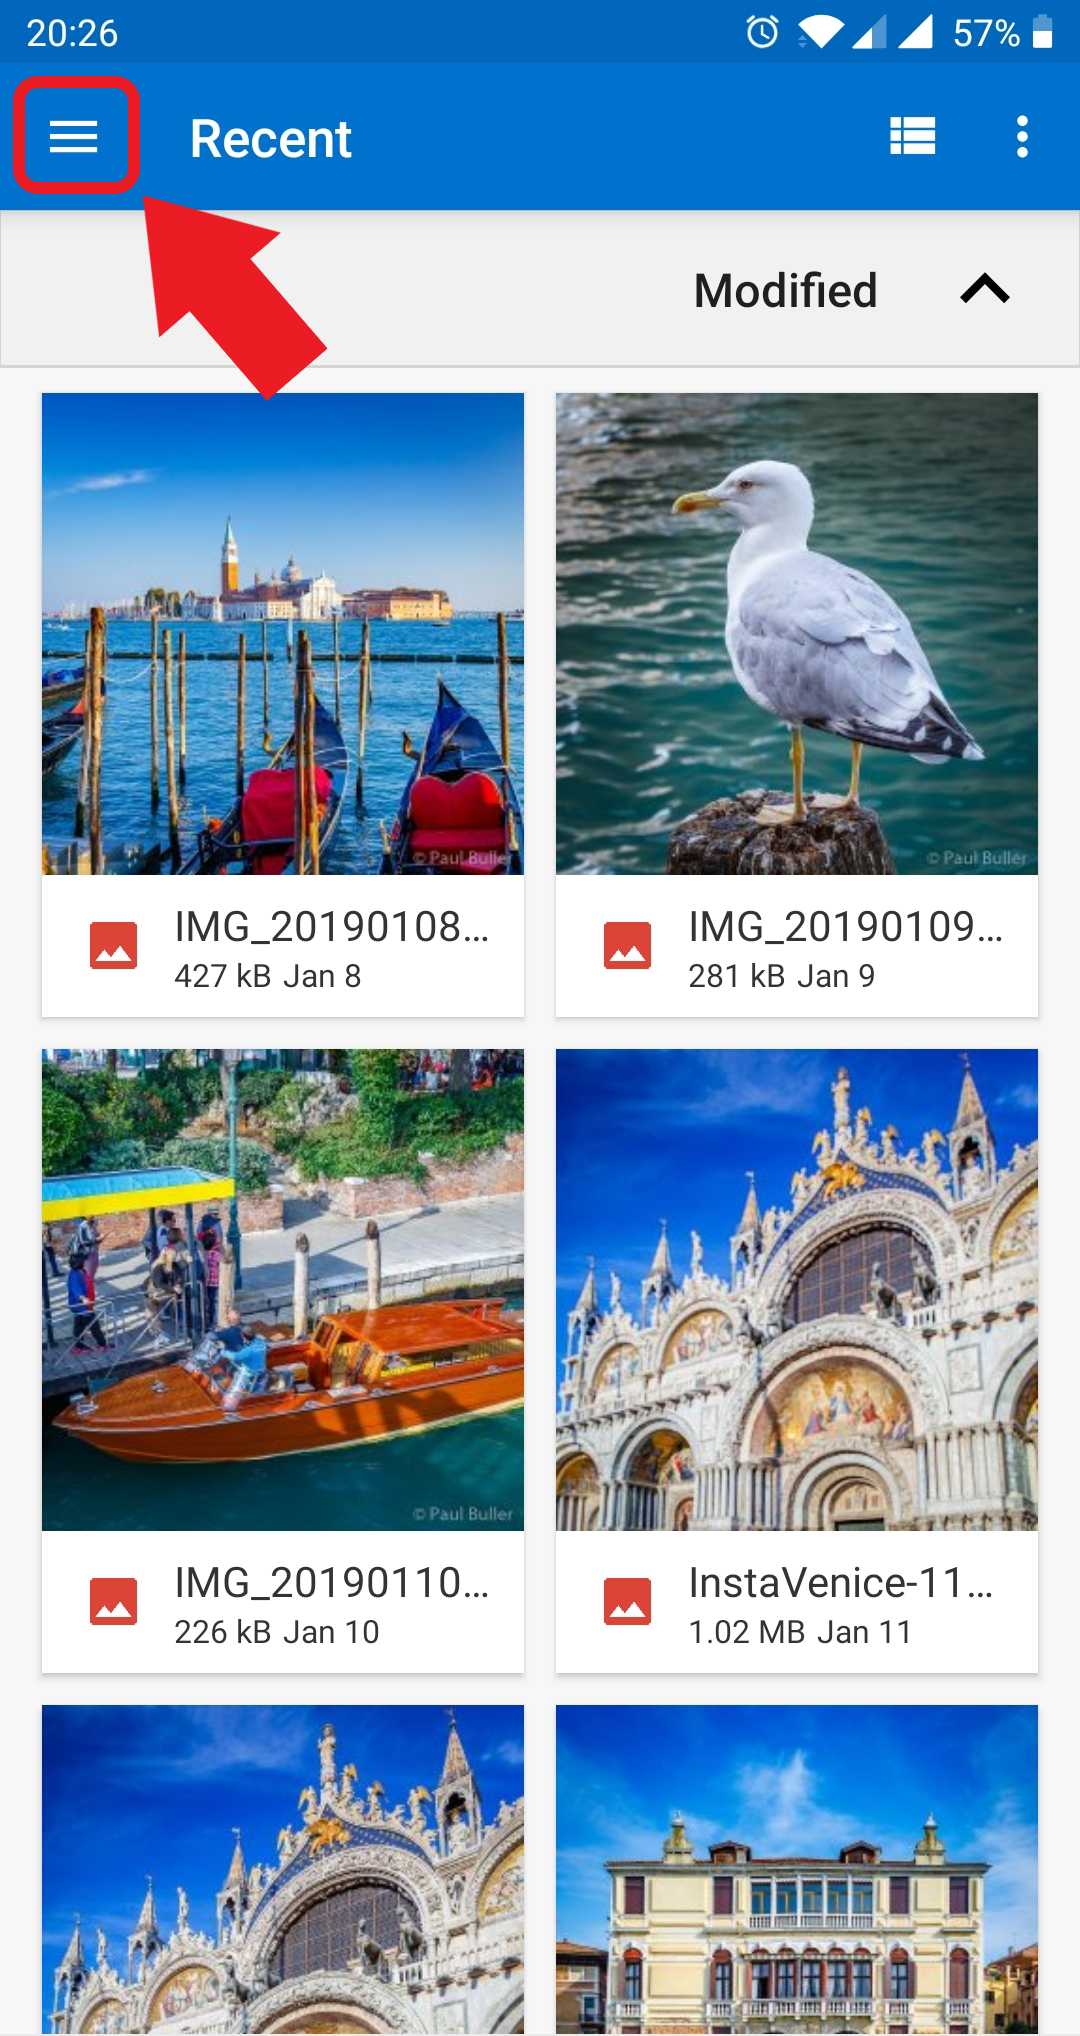
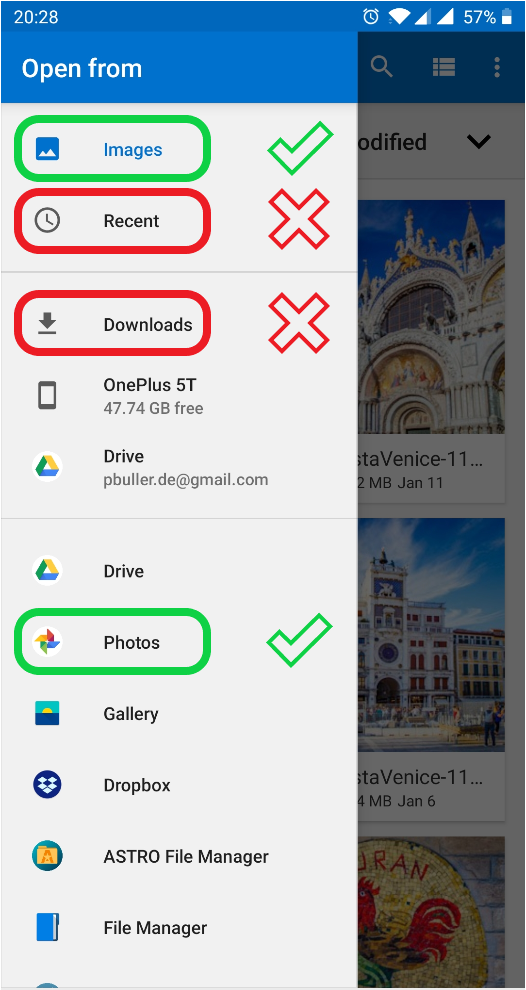
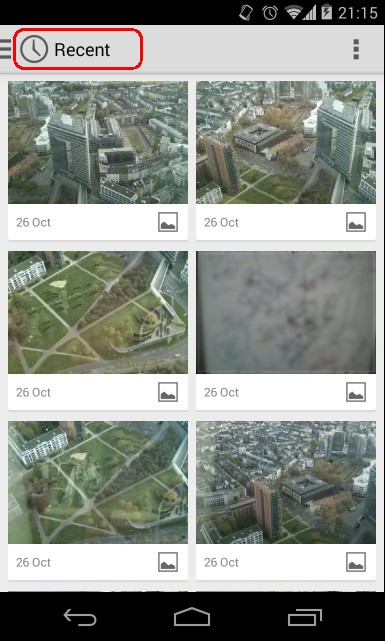
Probably you are trying to open an image from DownloadsRecent or similar. Unfortunately this doesn’t work correctly on some devices.

In this case please try again and select another chooser dialog:

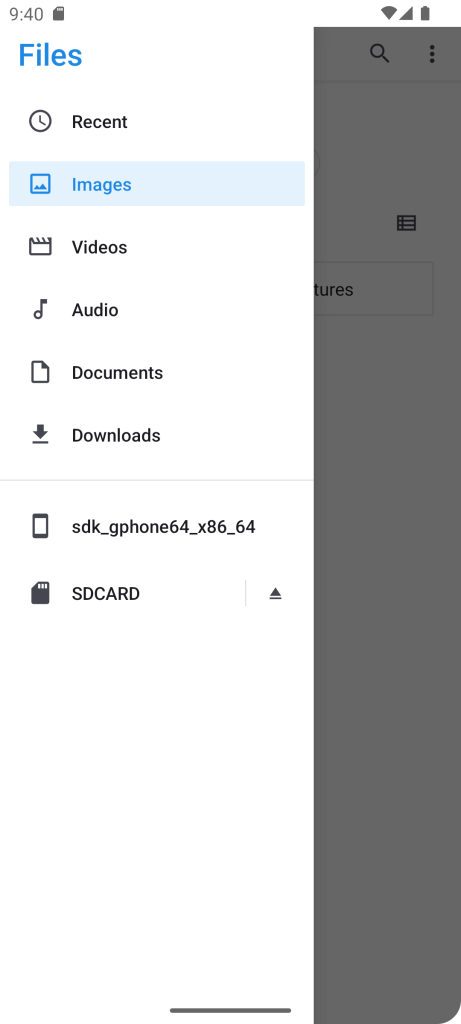
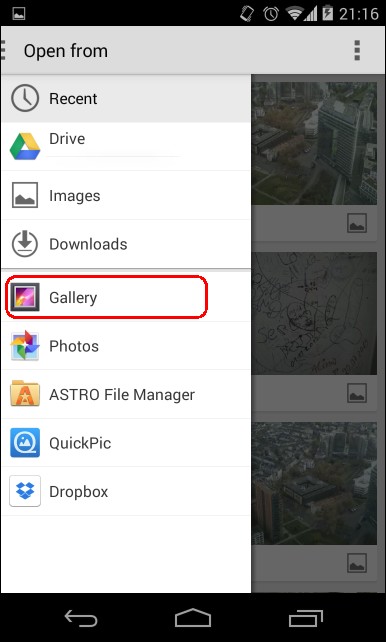
  • When you select a new image, you can change the chooser by pressing the draw menu on the top left.
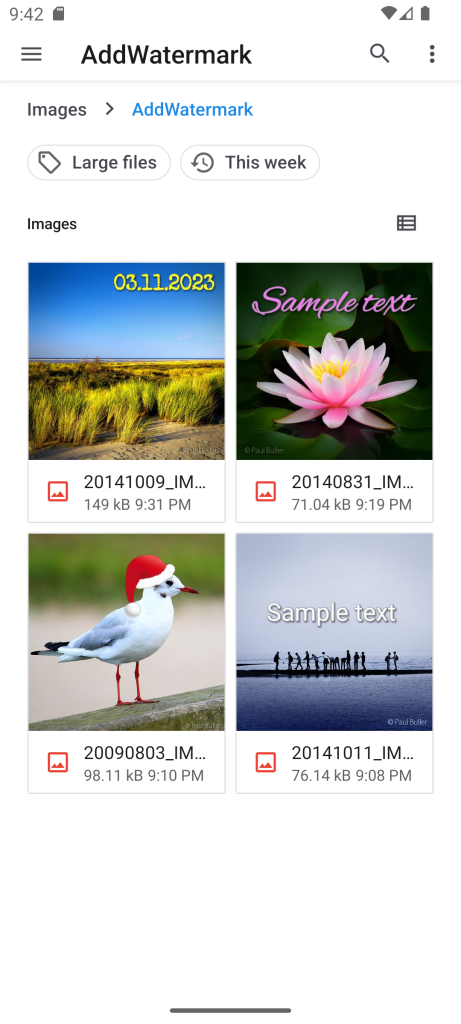
  • Then choose Images or Photos, where you can also find all your images on device or even in the cloud.

anotherchooser1
Press the draw menu

anotherchooser2
Select another chooser

Add Watermark: Permissions & Troubleshooting

Generally Add Watermark needs following permissions to be granted on your device:

  • WRITE_EXTERNAL_STORAGE: Allows an application to read from and write to device or external storage.
  • WAKE_LOCK: Allows to keep device from sleeping during processing of multiple images.

Beginning in Android 6.0, users grant permissions to apps while the app is running, not when they install the app.

When you start the app for the first time, you should see a permission request dialog:

Once allowed it doesn’t appear any more. But when you for some reason don’t allow, the app will generate errors when trying to load a source image or save processed image. In this case just restart the app, it will show the permission request again. Press “Allow” and that’s it!

Sometimes the permission request doesn’t appear, instead you see a “Screen overlay detected” message. This is because of another app with a floating overlay like Facebook Messenger, Twilight, CleanMaster, or Lux, that blocks permission requests from other apps. In this case please try to close all such floating activities then launch Add Watermark again. It is supposed to request permission without the “Screen overlay detected” error popping up.

If it didn’t help, follow this step-by-step guide:
https://www.androidpit.com/how-to-fix-screen-overlay-detected-error


Add Watermark 3.0 released

We are pleased to announce you the new release!

What’s new in version 3.0:

  • Increased maximal outgoing resulution up to 30MP depending on device (full version)
  • New: recall upto 20 recently used watermarks with all their settings – see button Recent. Learn more…
  • Adding many watermarks is now much easier with the new function to quick reopen last processed image
  • New permanent setting for target image format: JPEG, PNG or auto source (full version)
  • Added support of transparented PNG source files with alpha-channel
  • Added support of 360-panoramas and Photospheres. Try it out that’s awesome!
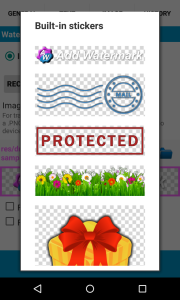
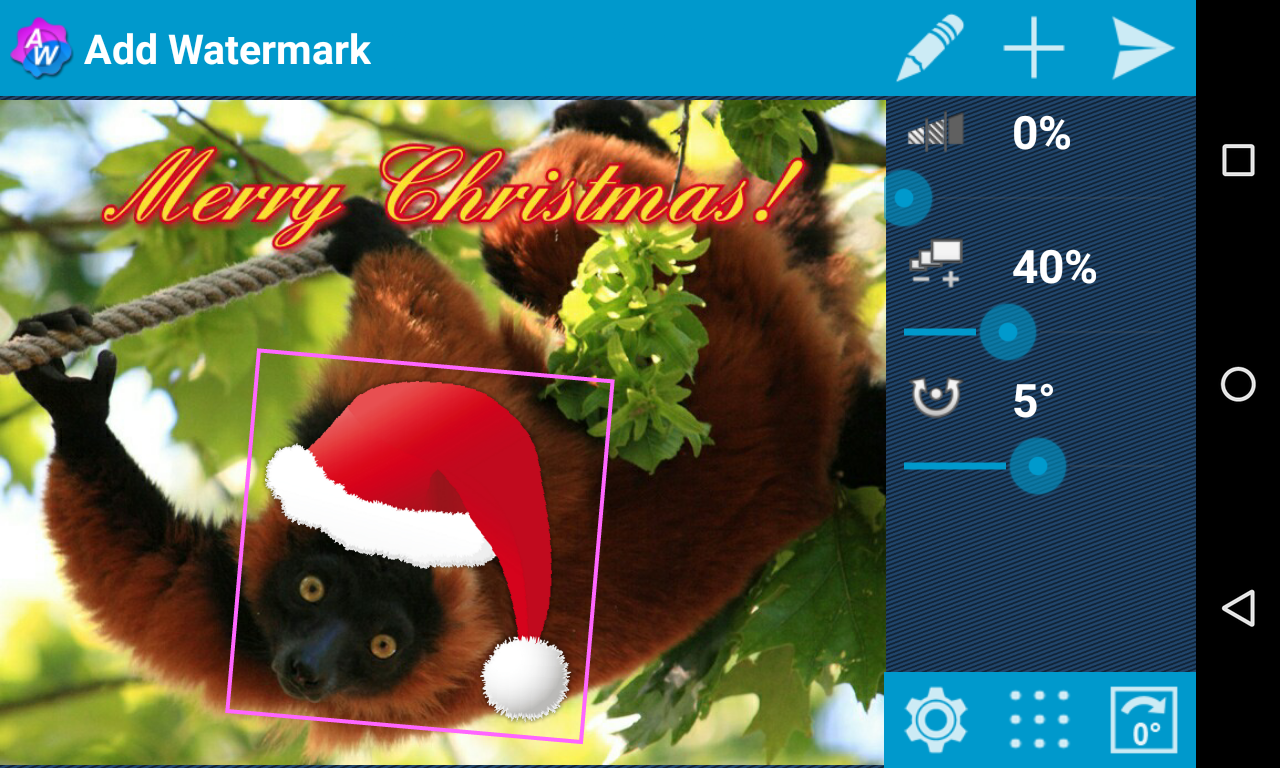
  • New: built-in sticker collection (Mail stamp, Sale tag, Merry Christmas, Happy New Year, Flowers, etc.). Read more…
  • More precise margin setting in 0.1% step – see Alingment settings
  • Added Portuguese translation. Many thanks to Ben (for Samia)!
  • Added optimization for Chromebooks
  • Minor design improvements
  • Fixed issue: rotated watermarks looks sometime ugly due to aliasing. Read more…
  • Fixed issue: invalid EXIF alignment marker in processed images without source EXIF data

Add Watermark: Watermark 360° Panoramas and Photospheres

Since version V3.0 there is full support of EXIF and XMP metadata in Jpeg images. That means, all metadata saved in the original image like photosphere tags, specific copter data, is also present in processed pictures.

For example, you can watermark a photosphere (360° panorama) to produce awesome 3D text effects. Viewing or posting processed pictures e.g. to Facebook works the same way like with original images. Make your spherical panoramas to eye-catcher!

Tips:

How Facebook does determine whether a photo is in 360:
– The photo must have a 2:1 aspect ratio, with maximum file dimensions of 6000 x 3000 pixels
– The Exif XMP tag “ProjectionType=equirectangular”
Learn more: Editing 360 Photos & Injecting Metadata


Add Watermark: How To Reuse Recent Watermarks (Profiles)

Since the new version 3.0 you can easy recall up to 20 recently used watermarks with all their properties. Like using profiles to quick switch between many predefined settings. How this works:

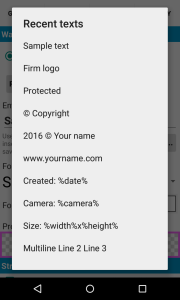
Each time you save resulting image the app stores all watermark settings in the list “Recent texts” or “Recent images” depending on the current watermark type.

To reuse one of last used watermarks please follow the steps:

  • Open Settings (pressing edit or gear button)
  • Go to Text or Image settings depending on your need
  • Press button “Recent texts” or “Recent images”
  • Choose an entry from the list
  • You can see immediately the loaded settings
  • Close Settings (pressing the back button) to see how the watermark looks on the preview
  • Now you can save the resulting image

screenshot_2016-12-19-12-33-33    screenshot_2016-12-19-12-34-06    screenshot_2016-12-19-12-34-57

Tips:

Please don’t forget: as a confirmation you need to save your resulting image to make sure your new/changed watermark’s properties can be recalled from the recent list.

If you apply changes to a recent watermark, they will be updated while saving resulting image until you change the watermark content itself (text or watermark file name). Then it will be saved under a new name.

After a new installation the list “Recent texts” already contains a preloaded set of watermark samples. Try them out!

The earlier watermarks (>20) will be replaced with last ones. Last saved comes always up in the list.

List of “Recent images” saves both types of image watermarks: built-in stickers and user’s custom logos.

Add Watermark: How To Use Built-in Stickers

Since version 3.0 there is a set of built-in watermark images (stickers) you can use for your images. Also in the free version!

To add a such sticker just:

  • Open Settings (pressing gear button )
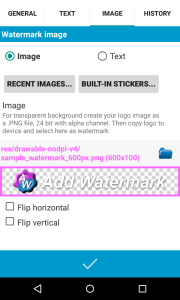
  • Go to Image settings
  • Make sure the watermark type is set to “Image”
  • Press button “Biult-in stickers”
  • Choose one image from the list
  • Close Settings (pressing the back button)
  • On the preview adjust opacity, position and rotation
  • Now you can save the resulting image

screenshot_2016-12-19-12-34-57    screenshot_2016-12-19-12-35-07    screenshot_2016-12-19-12-35-27Screenshot_2016-12-19-12-49-29.png

When you are missing some special stickers please let me know!

Add Watermark: How To Process Multiple Images From Dropbox

When you are storing your images in Dropbox cloud, you may be wondering, how to watermark more than one image using batch mode. Because currently in Dropbox you can select only one single file to send it to another app.

Please find below a workaround. To say it short, you need first to download images to device.

1. Start Dropbox and mark needed images, then save them to device (use three point menu > save to device):

Inline image 1
2. When they are saved (you can see the status on icons), open Add Watermark, select source (+) > process multiple images
3. Navigate to the Dropbox folder – it looks similar to
/sdcard/Android/data/com.dropbox.and.android/files/XXXXXXX/scratch…,
select all images, then process them.
I don’t recommend to process more than 100 images at once, as it can take very long time (few minutes).
Inline image 2

Add Watermark 2.9.5 released

Changes in version 2.9.5:

  • New placeholders %day-dd%, %month-mm%, %month-long%, %year% for flexible date stamping, for example: “01 January 2015” or “2015-01-01”
  • Fixed error for placeholder %date-ensfx%: 11th, 12th, 13th appearing correctly yet
  • Fixed font problem: some fonts stopped working after update to Android Lollipop
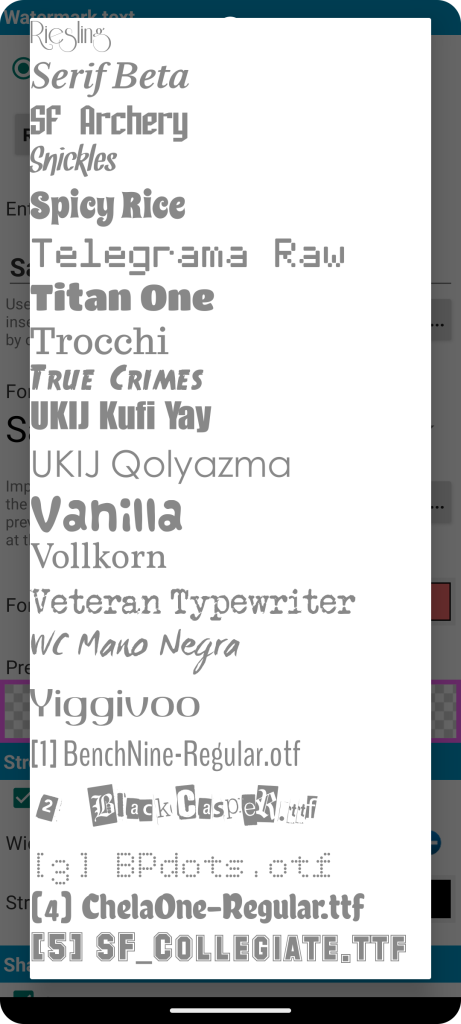
  • Added 6 new fonts with cyrillic support (Avdira, DejaVu Serif, Resagokr, UKIJ Kufi Yay, UKIJ Qolyazma, Yiggivoo), font list rearranged

Add Watermark 2.9.4 released

Changes in version 2.9.4:

  • Fixed error: “Image not found” after using built-in camera on some devices
  • New placeholder %date-ensfx% for date format like “1th January 2000”
  • New setting to disable confirmation while auto processing
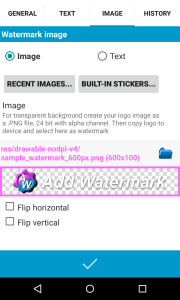
  • New option to flip the watermark image horizontally or vertically
  • Quick insert of frequently used special symbols like “©” etc.
  • Added Dutch translation. Many thanks to MarcyArtistic!
  • Added Czech translation. Many thanks to Renek!

Add Watermark 2.9 released

Changes in version 2.9:

  • Increased max size of watermarked images in free version from 800 to 1024 px
  • Improved support for Android KitKat. Anyway, since KitKat it’s impossible to save images on the external removable storage.
    Please use the internal memory instead!
  • Design improvements
  • Added turkish translation. Many thanks to ene49 (CepTeam)!
  • Some bug fixes


Can’t save images to the external storage on Samsung Galaxy S4 or Note3

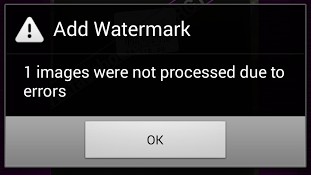
Problem: You have a Samsung Galaxy S4, S5 or Note3 with the newest Android 4.4.2 KitKat. When you try to save a watermarked image the following error is occurred: “X images were not processed due to errors…

Screenshot_2014-03-26_16-12-00


This is a known issue and it seems to be unique to the Android 4.4.2 KitKat update for the Galaxy S4 and Note 3 only. The new specifications in the Android API pretty much makes your microSD card useless. The third party apps will not be allowed to use it. More about here: http://goo.gl/xtPOye.

So, for example, you want to watermark some pictures taken with the standard camera app, stored on the microSD card. By default in Add Watermark the target folder is set to “Default folder”. This is the folder where the source images are stored. And this causes the problem. As applications are no longer able to create, modify, or remove files and folders on the external SD card due to new Android security policies.

Solution:

You need to use the internal storage for saving images in Add Watermark. Please set the target folder in the save dialog to “Custom folder” and choose a place, for example “/storage/emulated/0/addwatermark”.

Add Watermark: How to use your own fonts for text watermark

Since version 2.8.6 you can import up to 20 TrueType or OpenType fonts to the app (only 1 custom font in the free version).

Just copy your font files (extension .ttf or .otf) to the folder “addwatermark/custom_fonts” on your device. This folder is automatically created after app installation.

Screenshot_2013-07-08_20-31-07

When you start Add Watermark, you can see now the custom fonts (Settings / Text / Font), added to the build-in fonts starting with numbers [1]..[20]:

Screenshot_2013-07-08-20-18-54

Please note, if you can’t see a custom font in the app, the file might have a wrong format or is corrupted.

Add Watermark 2.8.6 released

Changes in version 2.8.6:

  • Now you can use your own fonts!
    Import up to 20 TrueType or OpenType fonts to folder “addwatermark/custom_fonts” on your device
    (only 1 custom font in the free version).
  • Added new font OtfPoc.
  • Bug fix: blank white preview area when loaded image’s width equals screen width.